Showing posts with label In the Garden. Show all posts
Wednesday, August 10, 2011
In the Garden | A New Gardening Tool...
... a Chainsaw! Strange as it may seem, this chainsaw is actually going to help my garden. Here's how:
Our house is situated in an older neighborhood with lots of mature trees, particularly oak and maple. While this is great for keeping cool in the summer, it is not so great for growing vegetables. In our yard alone we had about 22 trees when we first moved in! Now just think of all the leaves that means we have to rake every fall!
I love our mature trees, but we simply have too many trees and not enough open yard space. Slowly we have been regaining some space and removing some trees. We've removed a dead birch from the front yard, a smaller oak tree from the backyard, and three sassafras trees where the kids' playset now sits. That still left 17 trees and no really good sunny place to put a garden.
My garden sits in the back of this picture and is shaded by this row of trees for much of the afternoon. On top of that, the retaining wall that is next to the trees is falling apart and becoming a hazard. The trees and the wall must go!
So, this past weekend my husband and I loaded up the kids and took them out to buy a chainsaw. The very next day my husband had the chainsaw fired up and dropped the two smallest trees. Next up, four larger trees - pictures to come. I'm envisioning a great before and after shot.
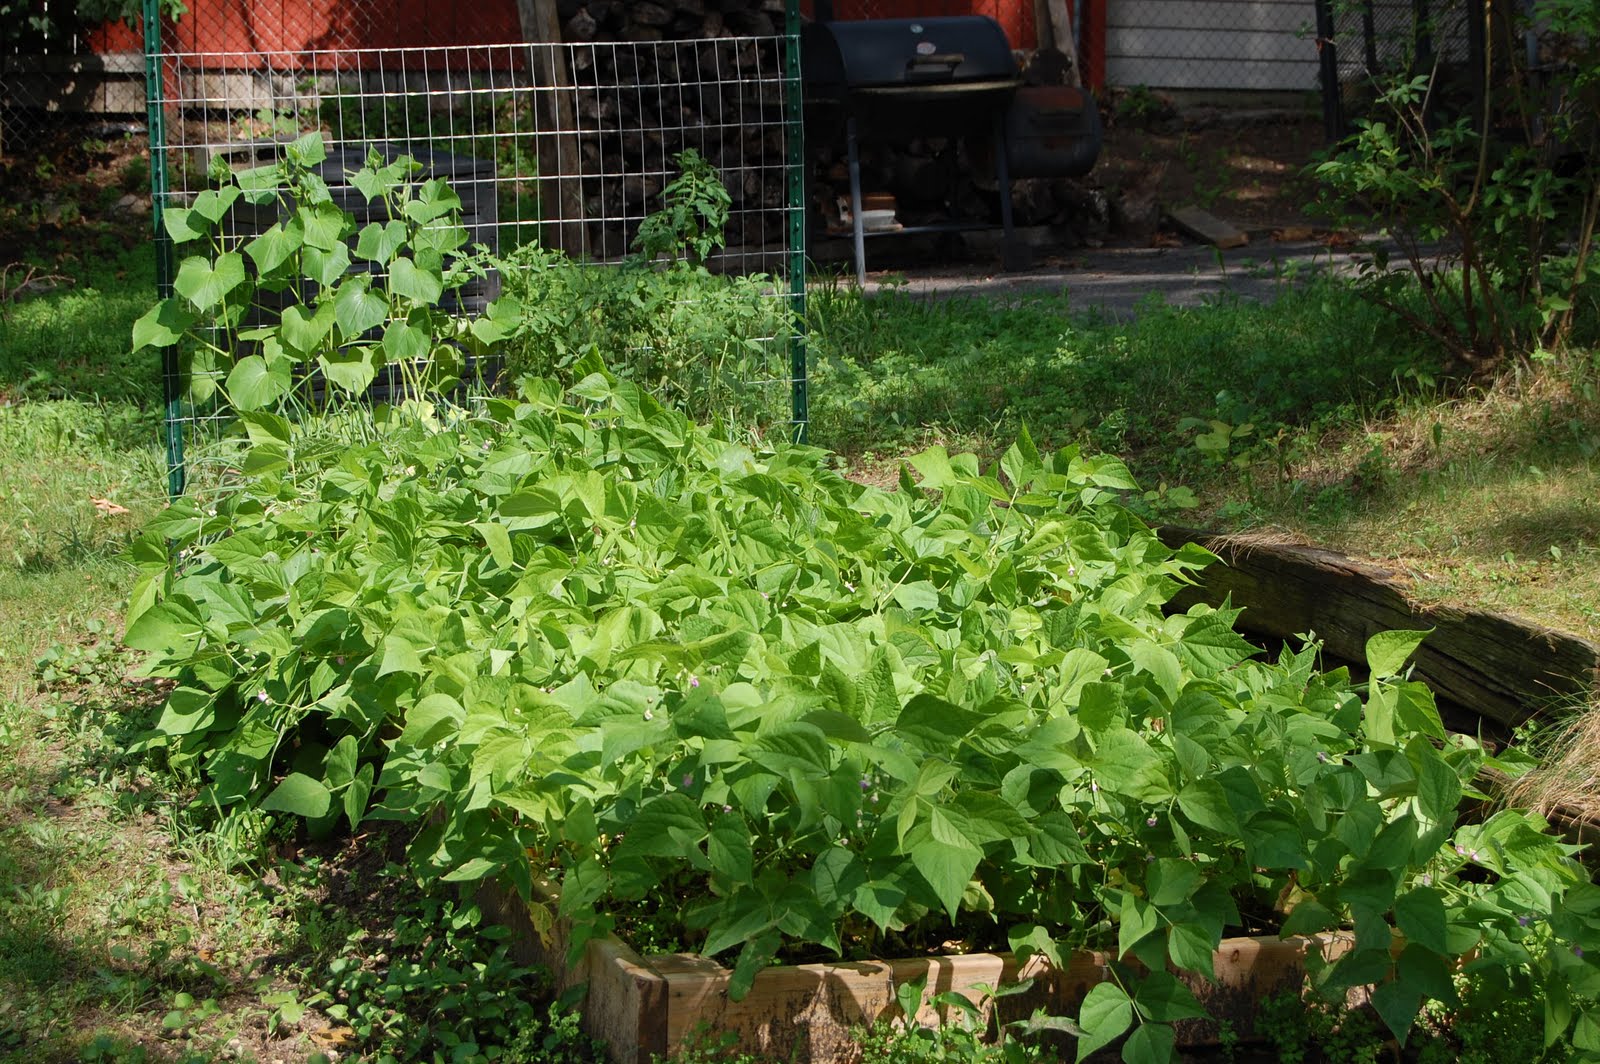
I'll leave you with a picture of my garden that is growing in spite of all the shade it gets. The beans are even starting to grow tiny beans and the cucumbers are climbing the trellis. So far the tomatoes are not looking as good, so time will tell if we get any tomatoes.
Monday, August 1, 2011
In the Garden | Trellis Structure
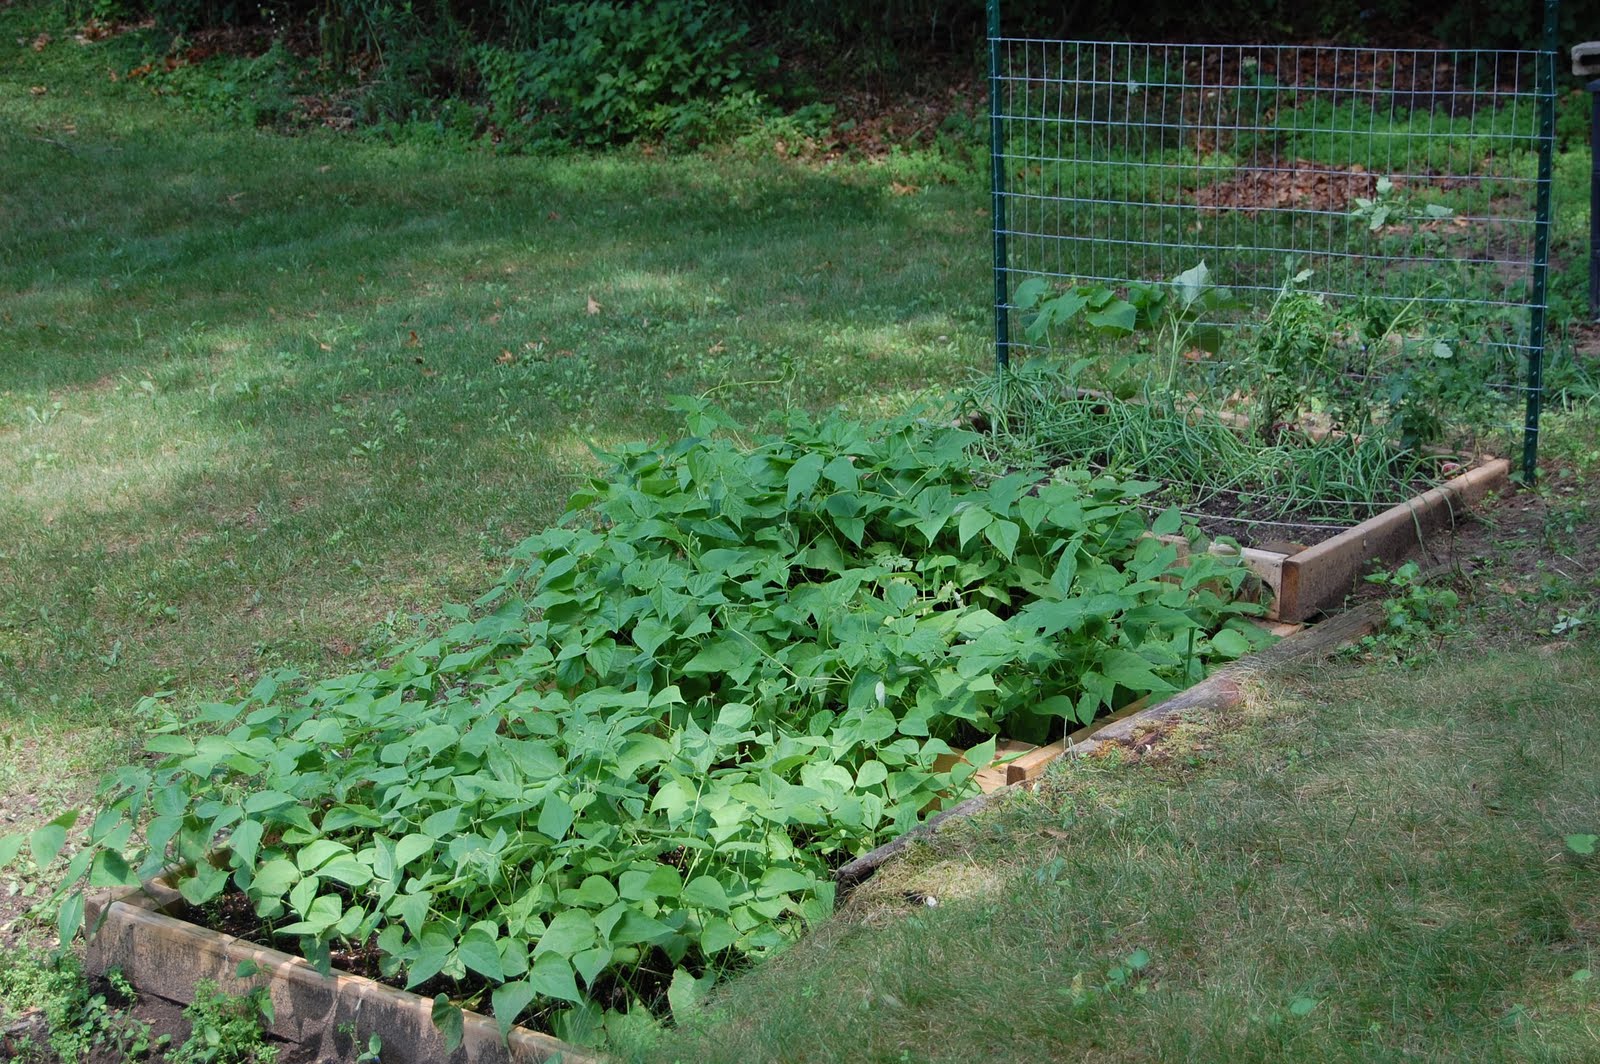
My husband just checked the garden tonight and the beans have blossoms! The picture is from a couple of days ago, showing the mass of bean plants. Hopefully we'll be eating fresh beans from the garden soon.
At the back of my garden you'll notice an addition, the trellis structure that my husband put up for me. Here's a closer look:
It was actually really simple, two metal fence posts that he drove into the ground. Then he took some mesh wire that we had on hand and stretched it across and around the fence posts. In case you're wondering, the big black box behind the garden is our compost bin.
The cucumbers have already begun to climb the trellis, I helped guide them through the holes and already they are wrapping little tendrils around the wire.
I'm not sure how the tomatoes will work yet, time will tell with them. I carefully pushed the largest vines through the holes to get the plants up and off my onions. I did harvest a little from my garden already - a few onions! When I was checking to see how they were doing, I just couldn't resist plucking a few out. I chopped them up and we ate them as a garnish on our Tamale Casserole last week.
Though its still early, I think the trellis will be a success. It seems much sturdier than tomato cages and will hopefully last for many years.
Thursday, July 28, 2011
In the Garden | Deck Planters
This week my ever helpful husband put up a trellis for my cucumber and tomato plants that I wanted to share with you. Unfortunately it was pouring when I wanted to take pictures, so that will have to wait. On the positive side, my garden is getting a much needed drink after a lot of sweltering hot weather.
Instead I thought I would share another area of my garden - on my deck. Last summer my father and husband built a railing for the deck to keep our little ones safe. After the job was finished, my husband built some planters for me also. Since the deck is right off the kitchen I thought that planters would be the perfect way to have fresh herbs close by. I have three planters in total and the one above is completely decorative. This particular planter is mostly shaded by the house so it is not a good choice for growing herbs. The Fuschia that I planted there is doing great! I'm really happy with how the plant cascades over the edges.
The remaining planters house a combination of decorative and edible plants. The next one has basil and rosemary. I have a pesto on the menu this week to use some of that great basil.
The final planter has chives and parsley. The plants on either end are Wedding Veil (little white flowers) and some blue thing that has gotten rather straggly (I don't remember the name of it).
The last edible plant on my deck is in a large plastic planter to keep it contained and out of the rest of my garden - mint! I LOVE mint jelly, but to buy mint at the grocery store is really expensive. And the mint that you can buy is usually not very fresh. Another thing great to make with fresh mint are Moijtos! I'll have to post the recipe the next time we make those.
As you can see the mint seems to like its home where it gets lots of late afternoon sun. It started out as two small little pots of mint, now its practically a bush!
There you have a peek into what is growing on my deck. Later this week when its sunny out I'll get some pictures of my new trellis in my square foot garden and show how my garden is growing.
Instead I thought I would share another area of my garden - on my deck. Last summer my father and husband built a railing for the deck to keep our little ones safe. After the job was finished, my husband built some planters for me also. Since the deck is right off the kitchen I thought that planters would be the perfect way to have fresh herbs close by. I have three planters in total and the one above is completely decorative. This particular planter is mostly shaded by the house so it is not a good choice for growing herbs. The Fuschia that I planted there is doing great! I'm really happy with how the plant cascades over the edges.
The remaining planters house a combination of decorative and edible plants. The next one has basil and rosemary. I have a pesto on the menu this week to use some of that great basil.
The final planter has chives and parsley. The plants on either end are Wedding Veil (little white flowers) and some blue thing that has gotten rather straggly (I don't remember the name of it).
The last edible plant on my deck is in a large plastic planter to keep it contained and out of the rest of my garden - mint! I LOVE mint jelly, but to buy mint at the grocery store is really expensive. And the mint that you can buy is usually not very fresh. Another thing great to make with fresh mint are Moijtos! I'll have to post the recipe the next time we make those.
As you can see the mint seems to like its home where it gets lots of late afternoon sun. It started out as two small little pots of mint, now its practically a bush!
There you have a peek into what is growing on my deck. Later this week when its sunny out I'll get some pictures of my new trellis in my square foot garden and show how my garden is growing.
Tags:
In the Garden
Tuesday, July 12, 2011
In the Garden | Our seeds have germinated!
To be perfectly honest I was a little concerned about the viability of our seeds when I planted them in the garden. The seeds were in a cardboard box in our basement which can be rather humid and damp. Definitely not the ideal place to be storing seeds. Much to my relief nearly all of them have germinated and poked up above the surface.
We have cucumbers:
Onions (these were grown from sets):
Kale:
The beans were really fun since they seemed to appear nearly overnight. One night I looked at the garden and did not see any bean sprouts. The following afternoon the garden was filled with sprouts, many nearly 2 inches tall already!
It was great to see so many seeds come up, and only a week after planting. So far one of the benefits of this type of gardening that I've noticed is how easy it is to keep everything watered. My husband has been taking the time to water the beds whenever they are dry to give our seeds the water necessary for germination. The smaller area has also been much easier to keep weed-free. I know its premature but I'm already looking forward to some home-grown beans for dinner!
Saturday, July 9, 2011
In the Garden | Beginning a Square Foot Garden
On a recent trip to visit my inlaws, my husband borrowed a book that my mother-in-law had recently purchased at a garage sale: Square Foot Gardening by Mel Bartholomew. I was curious about this new gardening technique, so on the 45 minute ride home I read the first few chapters. The introduction where Bartholomew described his experiences with community gardening had me hooked. It reminded me so much of myself!
I decided that it was time to try a new strategy. On a trip to the hardware store my husband and I purchased the lumber to make 3 four foot square beds to give square foot gardening a test run. Last weekend Jason built the boxes for me and I arranged them staggered in our backyard.
Then on the 4th of July we filled them with a special mix of soil and planted out seeds. For the soil mix I did some research online and found a simplified mix (compared to the one in the book that I have) that Bartholomew recommends, referred to as "Mel's Mix." The mix consisted of:
In the interest of saving some money we filled each box with half soil, and half Mel's mix - the compost was also "home-grown" so that helped with cost as well. We mixed and leveled out the soil in each box. then using basic kitchen twine and a staple gun we made the grid (each section is 1 foot square) on the top of each box.
I planted seeds that I already had at home from previous gardening attempts:
"The average gardener starts out each year with high hopes, great ambition and energy, and a desire for a really big, well-kept garden. But other warm weather activities seem to get in the way of the garden work, and soon it becomes neglected, overrun with weeds and pests. By the end of the season, there might be enough tomatoes, squash, and cucumbers to make the whole effort seem worthwhile, but all the other crops that couldn't survive the neglect will have been overrun by the weeds, or bolted to seed before they could be harvested."My own gardening experience sounded remarkably similar - I started with great intentions only to become busy with summer activities. The garden would sit untended and temporarily forgotten as the weeds started to take over. The plants would all dry out in the heat and I just would not get the harvest I was hoping for.
I decided that it was time to try a new strategy. On a trip to the hardware store my husband and I purchased the lumber to make 3 four foot square beds to give square foot gardening a test run. Last weekend Jason built the boxes for me and I arranged them staggered in our backyard.
| Three newly planted garden beds. |
Then on the 4th of July we filled them with a special mix of soil and planted out seeds. For the soil mix I did some research online and found a simplified mix (compared to the one in the book that I have) that Bartholomew recommends, referred to as "Mel's Mix." The mix consisted of:
- 1/3 peat moss
- 1/3 compost
- 1/3 vermiculite
In the interest of saving some money we filled each box with half soil, and half Mel's mix - the compost was also "home-grown" so that helped with cost as well. We mixed and leveled out the soil in each box. then using basic kitchen twine and a staple gun we made the grid (each section is 1 foot square) on the top of each box.
I planted seeds that I already had at home from previous gardening attempts:
- green beans
- yellow wax beans
- onions
- lettuce
- swiss chard
- kale
- cucumbers
- pickle cucumbers
Since we did not have any tomato seeds (or plants) I stopped at the local garden center to see if they had tomato plants left (being the beginning of July). I was in luck! I purchased four tomato plants for 50% off - currently the only life in the garden.
| My four little tomato plants. |
Actually, that is not entirely true. Last night my husband checked the garden and told me that the onions were starting to come up - yea!
And so begins a new adventure in gardening, hopefully this little garden will be both more successful, and easier to manage. I will continue to provide updates on my gardening experiment with square foot gardening.
Next task: Build some kind of trellis system for the tomatoes and cucumbers so they do not overrun the onions and greens that are also planted in that bed.
Subscribe to:
Posts (Atom)